Scanning is the fastest way to bill at a counter. It only works if every variant has a barcode, and in many Shopify stores they don't. Products added in a hurry, imported from suppliers, or created as new sizes and colours often have an empty barcode field.
This guide explains how to fill those gaps in bulk and print labels your scanners read first time.
Why barcodes matter in a shop
- Faster checkout. One scan instead of searching by name.
- Fewer wrong items. Searching "blue shirt" and picking size L instead of M is an easy mistake. A scan isn't.
- Accurate stock counts. Count by scanning and the numbers match the system.
- Smooth transfers. Scan items out at one branch and in at another.
Every variant needs its own barcode
A barcode belongs to a variant, not a product. A shirt in three sizes and two colours is six variants and needs six different barcodes. If they share one, your stock for each size will be wrong.
Step 1: Find variants with no barcode
Start with a list of every variant where the barcode field is empty. In most stores this is a big share of products added in the last year.
Step 2: Generate the missing ones in bulk
Typing barcodes one by one doesn't scale. Use a generator that:
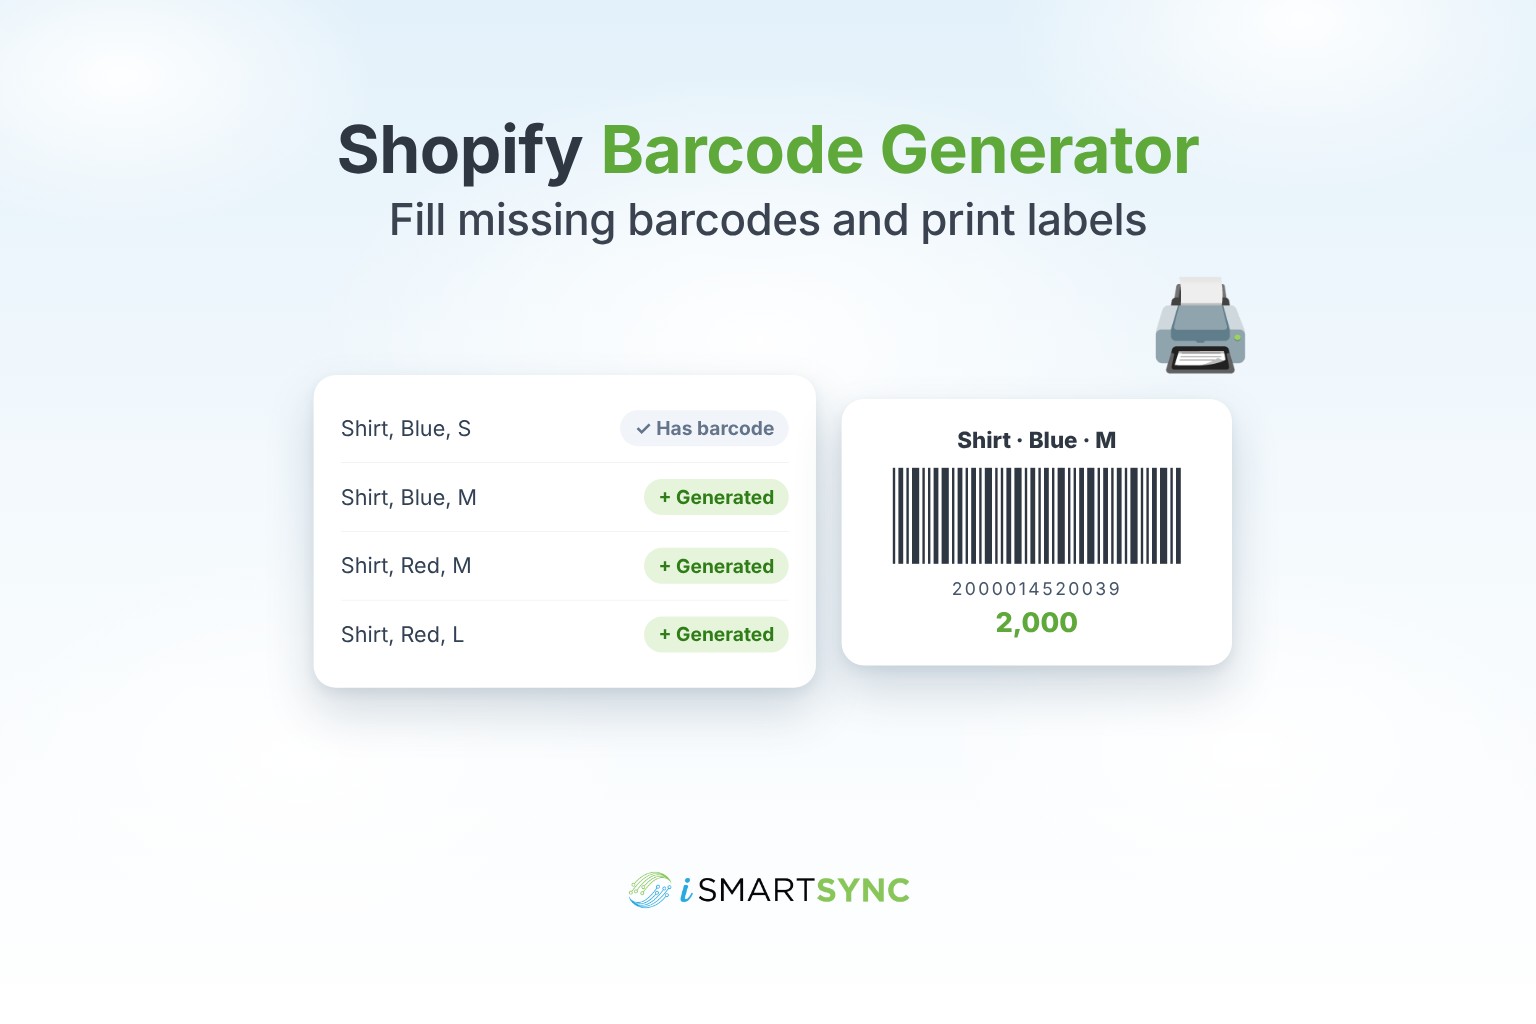
- Skips variants that already have a barcode, so supplier barcodes are never overwritten.
- Works on selected products or the whole store.
- Saves the barcodes into Shopify, so your online store and your POS use the same codes.
Step 3: Make sure your POS has them too
After generating, your POS needs the new codes. Otherwise a scan at the counter finds nothing.
Step 4: Design a label once, print many times
A good label shows:
- the barcode itself, large enough to scan;
- the product name and variant, for example "Shirt, Blue, M";
- the price;
- optionally your store name or SKU.
Make one template and reuse it for everything.
Step 5: Print at the right size
Most scanning problems are printing problems. Print at 100% scale, not "fit to page", use the label size your printer expects, and test one label before printing a hundred.
Common mistakes
- Two variants sharing the same barcode.
- Overwriting supplier barcodes that are already printed on packaging.
- Labels printed too small or squeezed to fit.
- New variants added to Shopify without a barcode, starting the problem again. Run the generator after every new product batch.
How iSmartSync does it
iSmartSync generates missing barcodes directly in Shopify, in bulk, for selected products or all products. Existing barcodes are detected and skipped. It then fetches the barcodes and saves them for imported variants, so scanning works the same at every branch. The barcode builder lets you create a default label template, fill in product data automatically, and print at 100% scale.
See the barcode generator and builder, or start your 7-day free trial. No card needed.
Common questions
Does Shopify generate barcodes automatically? No. Shopify has a barcode field on each variant, but it is empty unless you fill it in.
Will a generator overwrite my existing barcodes? A good one won't. iSmartSync skips any variant that already has a barcode.
Does each size and colour need its own barcode? Yes. Every variant needs a unique barcode, or stock per size and colour will be wrong.
Why won't my labels scan? Usually the print was scaled down. Print at 100% scale on the right label size.